I belong to quite a few Facebook cross stitch groups, and often I see lovely images of people’s needleminders and pincushions. If you’ve never seen a needleminder, it’s basically a small decorative magnet that attaches to either side of your cross stitch fabric that can hold your needles in place when you’re not using them (like a magnetic pin cushion). I’d made one out of a small metal ornament and some magnets from the dollar shop, and it turned out well. I’d just hot-glued the ornament to the front of one of the magnets and painted clear acrylic nail polish onto the back of the same magnet so it wouldn’t make my needlepoint dirty. I also painted the clear nail polish onto one side of the other magnet so it wouldn’t make the back of my piece dirty either.
However, I found that occasionally when I’d move my cross stitch frame I’d end up bumping the frame, and once a needle fell out (luckily it was still attached to a piece of floss so I didn’t lose it in my couch). I wanted to make something like the needleminder that was magnetically “attached” to my cross stitch fabric, but acted more like a pincushion I could stick my needles into. I sewed a small piece of fabric around my upper magnet and used that as an improvised pincushion for a while. It worked, but I decided to make a prettier one.
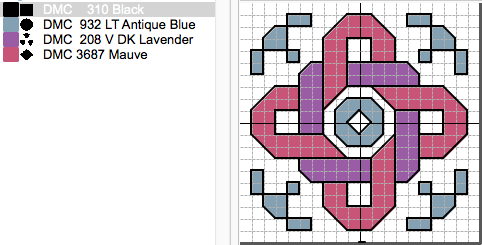
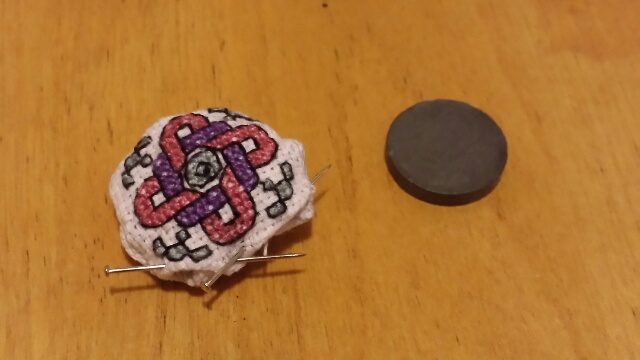
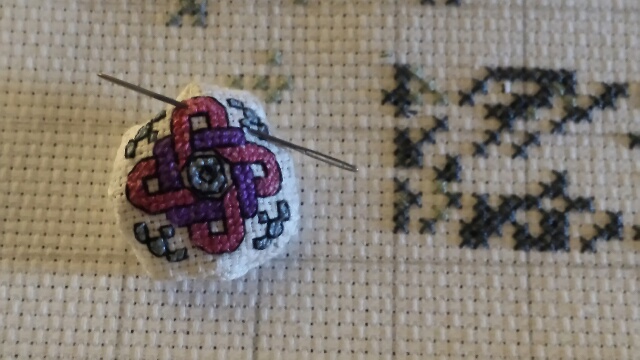
After looking around online for ideas I decided on a biscornu-type pincushion, just a really small one. A biscornu is an eight-sided pin cushion, and I decided to use a small cross stitch for the top panel of the biscornu. I’ve seen some really intricate ones, but this design was going to be little (the finished piece is around an inch in diameter). Thus I couldn’t make the design too complex, and I wanted to just have a little experiment as I’d never made a biscornu before.
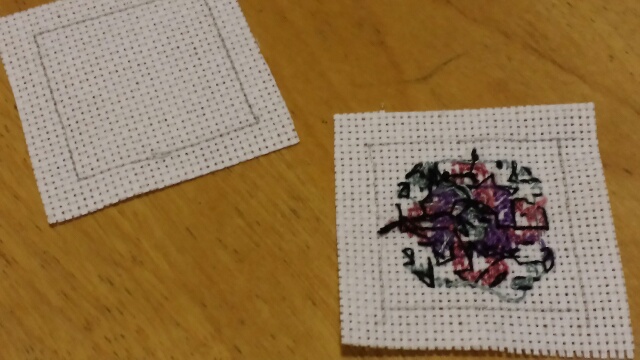
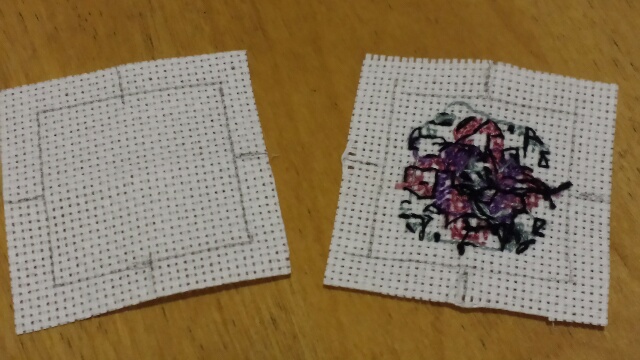
Here is the design I made for the top panel of the biscornu, it’s a freebie so please feel free to use this design to make your own biscornu. If you’d like to share the image, please just credit me as the designer. I stitched it on 22 count fabric.
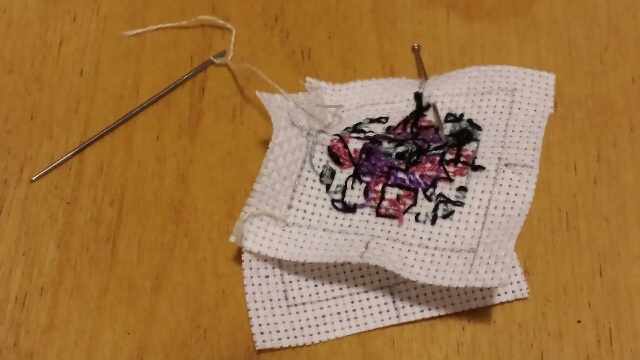
Here are the instructions for how to assemble the biscornu once it’s stitched. If you click on each image you’ll see more detailed instructions about how to assemble it. I really like the finished product, and the magnets I used (just from the craft section in the dollar shop) are so strong I can even lay my needle on top of the biscornu and it won’t go anywhere. If you have any questions, please let me know below!


8 Responses
Jeanne
Hello, I just watched your tutorial about sewing a Biscornu…quite helpful.
May I say your nails were distracting and blocked views.
Dana Batho
Glad you enjoyed the free tutorial Jeanne! 🙂 And sorry about the camera angle not being great, it’s actually incredibly difficult filming something that close and watching what’s happening on screen as well as what you’re actually doing and not knocking the camera all the time. Sorry “my nails were distracting,” people have fingernails so I’m not sure what you would have liked me to do about that…
Melanie
I am really excited to try this needle minder! I am a bit confused on how to stitch the two pieces together, will you be doing a tutorial? This is such a great little project!
Dana Batho
Hi Melanie, thanks for your question! I can definitely do a mini tutorial on how to stitch it together, I may change how the instructions are written and use newer photos to make it even clearer. In the demo I used 22 count fabric so it’s quite small, but probably I’ll make a bigger one on 14 count as then it will be easier to see the details of how to assemble it. 🙂 Since you’re a Peacock Lounge member (and welcome!), you’ll get sent an email when I release that tutorial. I usually do a new tutorial about once every 2 weeks, and I just released a new one this week so it won’t be immediately. 🙂 Happy stitching!
Melanie
Thank you so much! I’m so excited.! Your work and your tutorials are inspirational for us crafters!!! 😊
Dana Batho
Haha you’re very welcome Melanie! 🙂
Alida C Delgado
Great gift for all of us. Thank You!!! I love your tutorial videos on YouTube. Looking forward to buy one of your designs.
Alida
Dana Batho
Thanks very much Alida, I appreciate your feedback! The biscornu came out quite small when I did it (I used 22 count), but it’s a nice manageable little project. I’m glad you’re enjoying the video tutorials, that makes me happy. Happy stitching! 🙂